How to Delete Imprivata ID
Published by Imprivata, Inc. on 2024-04-17We have made it super easy to delete Imprivata ID account and/or app.
Guide to Delete Imprivata ID
Things to note before removing Imprivata ID:
- The developer of Imprivata ID is Imprivata, Inc. and all inquiries must go to them.
- Under the GDPR, Residents of the European Union and United Kingdom have a "right to erasure" and can request any developer like Imprivata, Inc. holding their data to delete it. The law mandates that Imprivata, Inc. must comply within a month.
- American residents (California only - you can claim to reside here) are empowered by the CCPA to request that Imprivata, Inc. delete any data it has on you or risk incurring a fine (upto 7.5k usd).
- If you have an active subscription, it is recommended you unsubscribe before deleting your account or the app.

How to delete Imprivata ID account:
Generally, here are your options if you need your account deleted:
Option 1: Reach out to Imprivata ID via Justuseapp. Get all Contact details →
Option 2: Visit the Imprivata ID website directly Here →
Option 3: Contact Imprivata ID Support/ Customer Service:
- 100% Contact Match
- Developer: Imprivata, Inc
- E-Mail: [email protected]
- Website: Visit Imprivata ID Website
- 85.71% Contact Match
- Developer: Imprivata, Inc
- E-Mail: [email protected]
- Website: Visit Imprivata, Inc Website
How to Delete Imprivata ID from your iPhone or Android.
Delete Imprivata ID from iPhone.
To delete Imprivata ID from your iPhone, Follow these steps:
- On your homescreen, Tap and hold Imprivata ID until it starts shaking.
- Once it starts to shake, you'll see an X Mark at the top of the app icon.
- Click on that X to delete the Imprivata ID app from your phone.
Method 2:
Go to Settings and click on General then click on "iPhone Storage". You will then scroll down to see the list of all the apps installed on your iPhone. Tap on the app you want to uninstall and delete the app.
For iOS 11 and above:
Go into your Settings and click on "General" and then click on iPhone Storage. You will see the option "Offload Unused Apps". Right next to it is the "Enable" option. Click on the "Enable" option and this will offload the apps that you don't use.
Delete Imprivata ID from Android
- First open the Google Play app, then press the hamburger menu icon on the top left corner.
- After doing these, go to "My Apps and Games" option, then go to the "Installed" option.
- You'll see a list of all your installed apps on your phone.
- Now choose Imprivata ID, then click on "uninstall".
- Also you can specifically search for the app you want to uninstall by searching for that app in the search bar then select and uninstall.
Have a Problem with Imprivata ID? Report Issue
Leave a comment:
Reviews & Common Issues: 1 Comments
By Sharon May
3 years agoI downloaded the mobile version on my phone to get the approve message and all day this is on background lock services and I can not access anything on my phone. It keeps me at the tap you badge I put in my id and password for work and it gives me this message javax.xml .XLM.Stream Exception Parse Error. [row,col] [8:16]. Message - attribute must start with quotation or apostrphe not n.
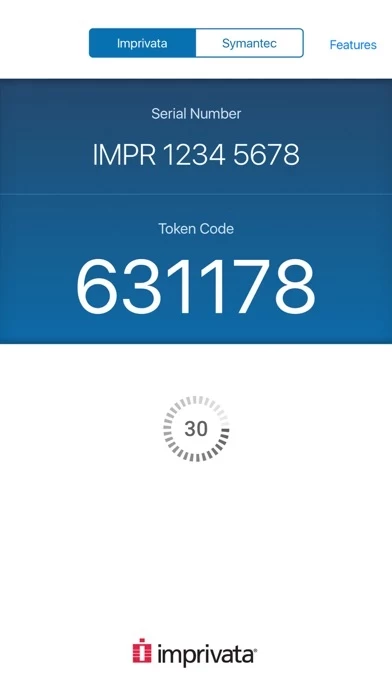
What is Imprivata ID?
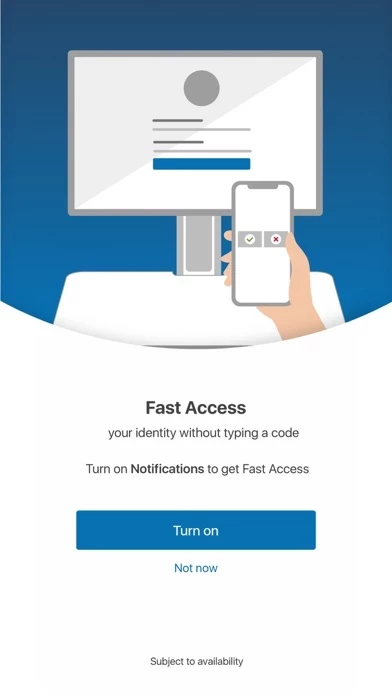
Imprivata ID is a secure authentication application that helps improve clinical workflows for medical professionals for electronic prescribing of controlled substances (EPCS), remote network access, and others. For EPCS, Imprivata ID enables Hands Free Authentication, a breakthrough solution that delivers exceptional speed, security, and convenience for providers while meeting DEA two-factor authentication requirements for EPCS. Instead of typing a manual token code, Hands Free Authentication wirelessly retrieves and verifies a one-time password from the Imprivata ID application on the user’s mobile device, even if it is locked and/or in the user’s pocket, which delivers unparalleled speed and convenience with minimal impact to clinical workflows. For remote network access, Imprivata ID enables fast, convenient push notifications. Users receive a notification on their mobile phone asking them to verify their identity. The user simply swipes the notification from the lock screen of th...