How to Delete GhostID VPN
Published by TROYAN KONSTRAKSHN TOV on 2024-02-13We have made it super easy to delete GhostID VPN account and/or app.
Table of Contents:
Guide to Delete GhostID VPN
Things to note before removing GhostID VPN:
- The developer of GhostID VPN is TROYAN KONSTRAKSHN TOV and all inquiries must go to them.
- Check the Terms of Services and/or Privacy policy of TROYAN KONSTRAKSHN TOV to know if they support self-serve account deletion:
- Under the GDPR, Residents of the European Union and United Kingdom have a "right to erasure" and can request any developer like TROYAN KONSTRAKSHN TOV holding their data to delete it. The law mandates that TROYAN KONSTRAKSHN TOV must comply within a month.
- American residents (California only - you can claim to reside here) are empowered by the CCPA to request that TROYAN KONSTRAKSHN TOV delete any data it has on you or risk incurring a fine (upto 7.5k usd).
- If you have an active subscription, it is recommended you unsubscribe before deleting your account or the app.
How to delete GhostID VPN account:
Generally, here are your options if you need your account deleted:
Option 1: Reach out to GhostID VPN via Justuseapp. Get all Contact details →
Option 2: Visit the GhostID VPN website directly Here →
Option 3: Contact GhostID VPN Support/ Customer Service:
- 72% Contact Match
- Developer: CyberGhost SA
- E-Mail: [email protected]
- Website: Visit GhostID VPN Website
Option 4: Check GhostID VPN's Privacy/TOS/Support channels below for their Data-deletion/request policy then contact them:
*Pro-tip: Once you visit any of the links above, Use your browser "Find on page" to find "@". It immediately shows the neccessary emails.
How to Delete GhostID VPN from your iPhone or Android.
Delete GhostID VPN from iPhone.
To delete GhostID VPN from your iPhone, Follow these steps:
- On your homescreen, Tap and hold GhostID VPN until it starts shaking.
- Once it starts to shake, you'll see an X Mark at the top of the app icon.
- Click on that X to delete the GhostID VPN app from your phone.
Method 2:
Go to Settings and click on General then click on "iPhone Storage". You will then scroll down to see the list of all the apps installed on your iPhone. Tap on the app you want to uninstall and delete the app.
For iOS 11 and above:
Go into your Settings and click on "General" and then click on iPhone Storage. You will see the option "Offload Unused Apps". Right next to it is the "Enable" option. Click on the "Enable" option and this will offload the apps that you don't use.
Delete GhostID VPN from Android
- First open the Google Play app, then press the hamburger menu icon on the top left corner.
- After doing these, go to "My Apps and Games" option, then go to the "Installed" option.
- You'll see a list of all your installed apps on your phone.
- Now choose GhostID VPN, then click on "uninstall".
- Also you can specifically search for the app you want to uninstall by searching for that app in the search bar then select and uninstall.
Have a Problem with GhostID VPN? Report Issue
Leave a comment:
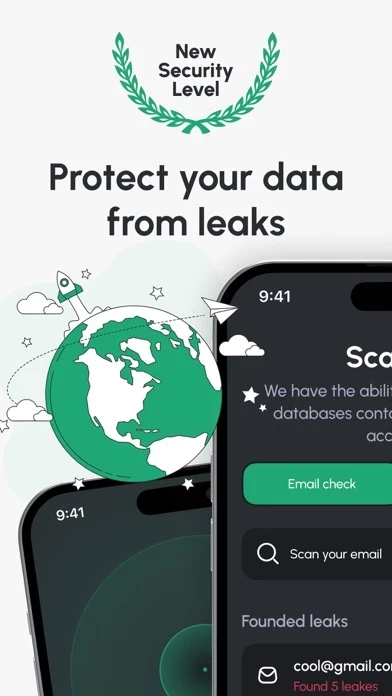
What is GhostID VPN?
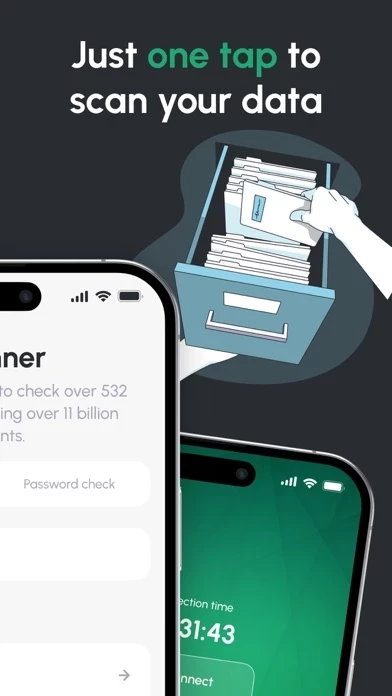
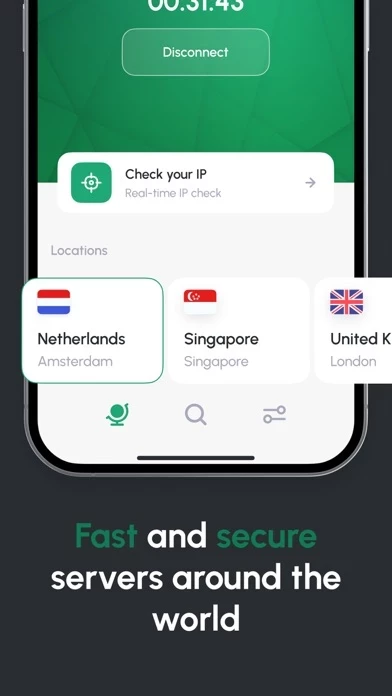
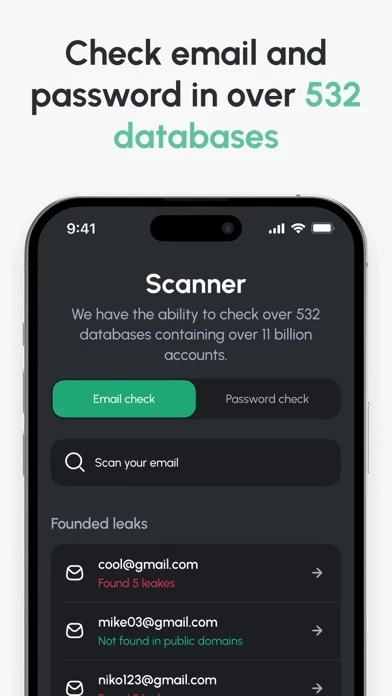
GhostID VPN is a cutting-edge mobile application designed to provide users with secure, fast, and personalized VPN services. This app stands out with its unique onboarding process, tailored to each user's needs and preferences, ensuring a seamless introduction to the app's features. GhostID VPN offers both light and dark themes, catering to different visual preferences and enhancing usability in various lighting conditions. One of the key features of GhostID VPN is its IP address verification tool, allowing users to check their IP addresses to ensure their online activities remain secure. The app boasts fast and high-quality servers located around the globe, providing users with reliable and speedy connections without compromising on privacy or security. GhostID VPN takes user privacy a step further by incorporating a session duration timer, enabling users to monitor the length of their VPN connections. This feature adds an extra layer of control over one's online presence, ensuring...
